As a realtor, a promotional video is one of the most important tools to sell a property.
A well-crafted ListingView video can showcase the features and amenities of a property just like a pro videographer. The idea is to give potential buyers an immersive sense of what it would be like to live there. This blog post will discuss the logical sequence of exterior and interior video clips that should appear in a DIY ListingView video.
First and foremost, the exterior of the property should be the first thing that appears in the video. This gives viewers a sense of the property’s location and surroundings, the home’s curbside appeal. This sets the stage for the rest of the video. The initial exterior video clips should only include footage of the front of the property. (Begin with a wide shot of the front of the property to give the viewer an overall sense of the location and surroundings. We recommend shooting at least two angled panning shots of the front.) Any notable side or backyard features, such as a pool, visually appealing landscaping, or decks, should come much later in the logical sequence of the video.
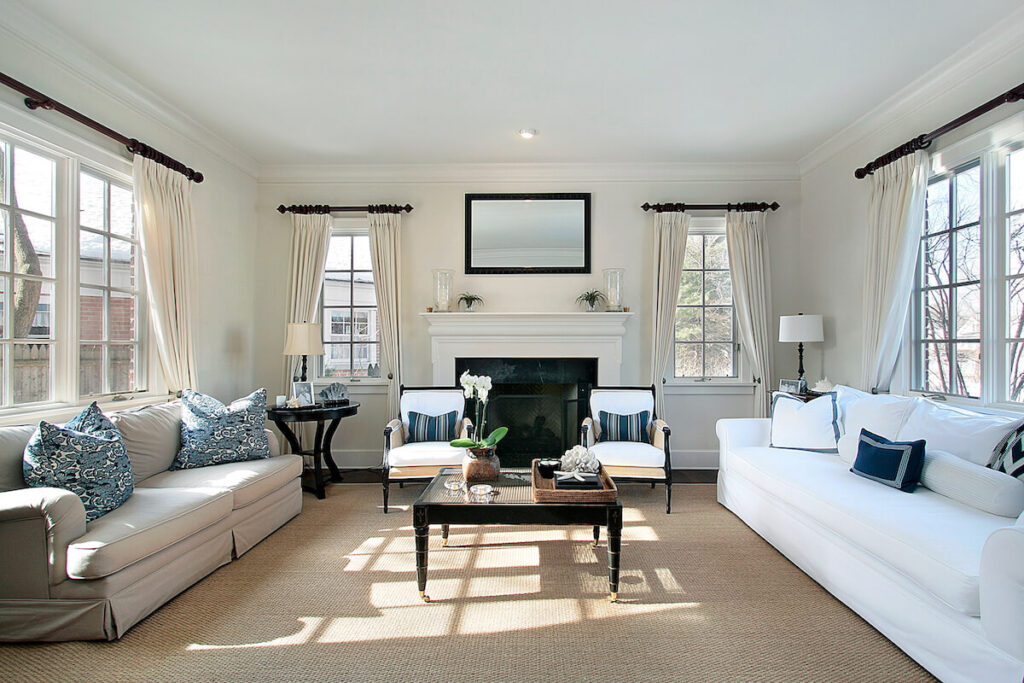
Next, the interior of the property should be shown. Start with a walkup video clip to the main entrance. Next, the interior of the property should be shown. Video clips showing the main living areas, such as the living room, kitchen, and dining room, should be featured first. Even if it’s an open-concept “great room” housing all these areas, the same sequence should be used as if all these areas were in their own separate walled rooms. These are typically the most important spaces for potential buyers, as they are where the majority of their time will be spent. To give the most immersive experience with your ListingView video, you should take at least two separate aspects (angled views) of each of these important areas. It is also wise to highlight any unique features or amenities contained in these main areas that the property offers, such as a fireplace, and updated kitchen appliances, including intricate wall, window coverings and/or ceiling treatments that might add to the livability of the home.
After the main living areas have been shown, the tour should move on to the bedrooms and bathrooms. These spaces should be shown in a logical order, starting with the primary bedroom and working your way down to the smaller bedrooms. Be sure to include footage
of any special features such as walk-in closets, en suite bathrooms, or balconies associated with these bedrooms.
Suppose there is a significantly finished below grade lower level to the home. In that case, that may have a rec room, home theatre room, and additional sleeping areas should be featured next in a similarly logical sequence, starting with the main lower-level living area.
Finally, the tour portion of the video should conclude with any additional features of the property not yet featured. Perhaps a look at the backyard, including gardens, pool, and surrounding landscaped areas, or other unique landscaping, rear deck, built-in BBQ area, then a look at the garage (if tidy) and conclude with any spectacular views achieved from the rear of the property.
The “grand finish” just before the branding outro portion (if opted for in the video) is up to you as the creator. But it should feature something really worthy of representing the very best aspects of the home/property. With residential properties, options include a different look at the curbside (front yard) appeal, a closer sweeping pan shot of the front of the home as a finish, or a stunning view visible from inside the house. The key is giving viewers a final “wow factor” impression of the exterior or interior of the home.
When preparing to do your ListingView video of one of your listings, It can also be very helpful to have a script or bullet points to ensure that you cover all of the important features of the property. So an initial walk-through prior to creating the video can be extremely helpful in expediting your DIY video efficiently. Remember to shoot both in landscape and portrait modes for most of your shots. And shoot a number of video clips, so you have plenty of choices when it comes time to piece together your DIY video.
Overall, the key to a successful ListingView video is presenting the property logically and visually appealingly. Giving the viewer a real idea of how the rooms flow, and how the exterior of the home and the property it’s built on looks together and how it fits into the neighborhood.
By following this sequence of exterior and interior clips, you can give potential buyers a clear understanding of what the overall property has to offer and, most importantly, what it would be like for a potential buyer to live there.